On this page
Plan in order to avoid rebuilding
Clear weeds, rocks, and debris, then use 1× camera zoom to read the full space. Do not begin with decoration: sketch room for barns, coops, greenhouses, and crop fields first, then add paths and furniture once the large footprints are fixed.
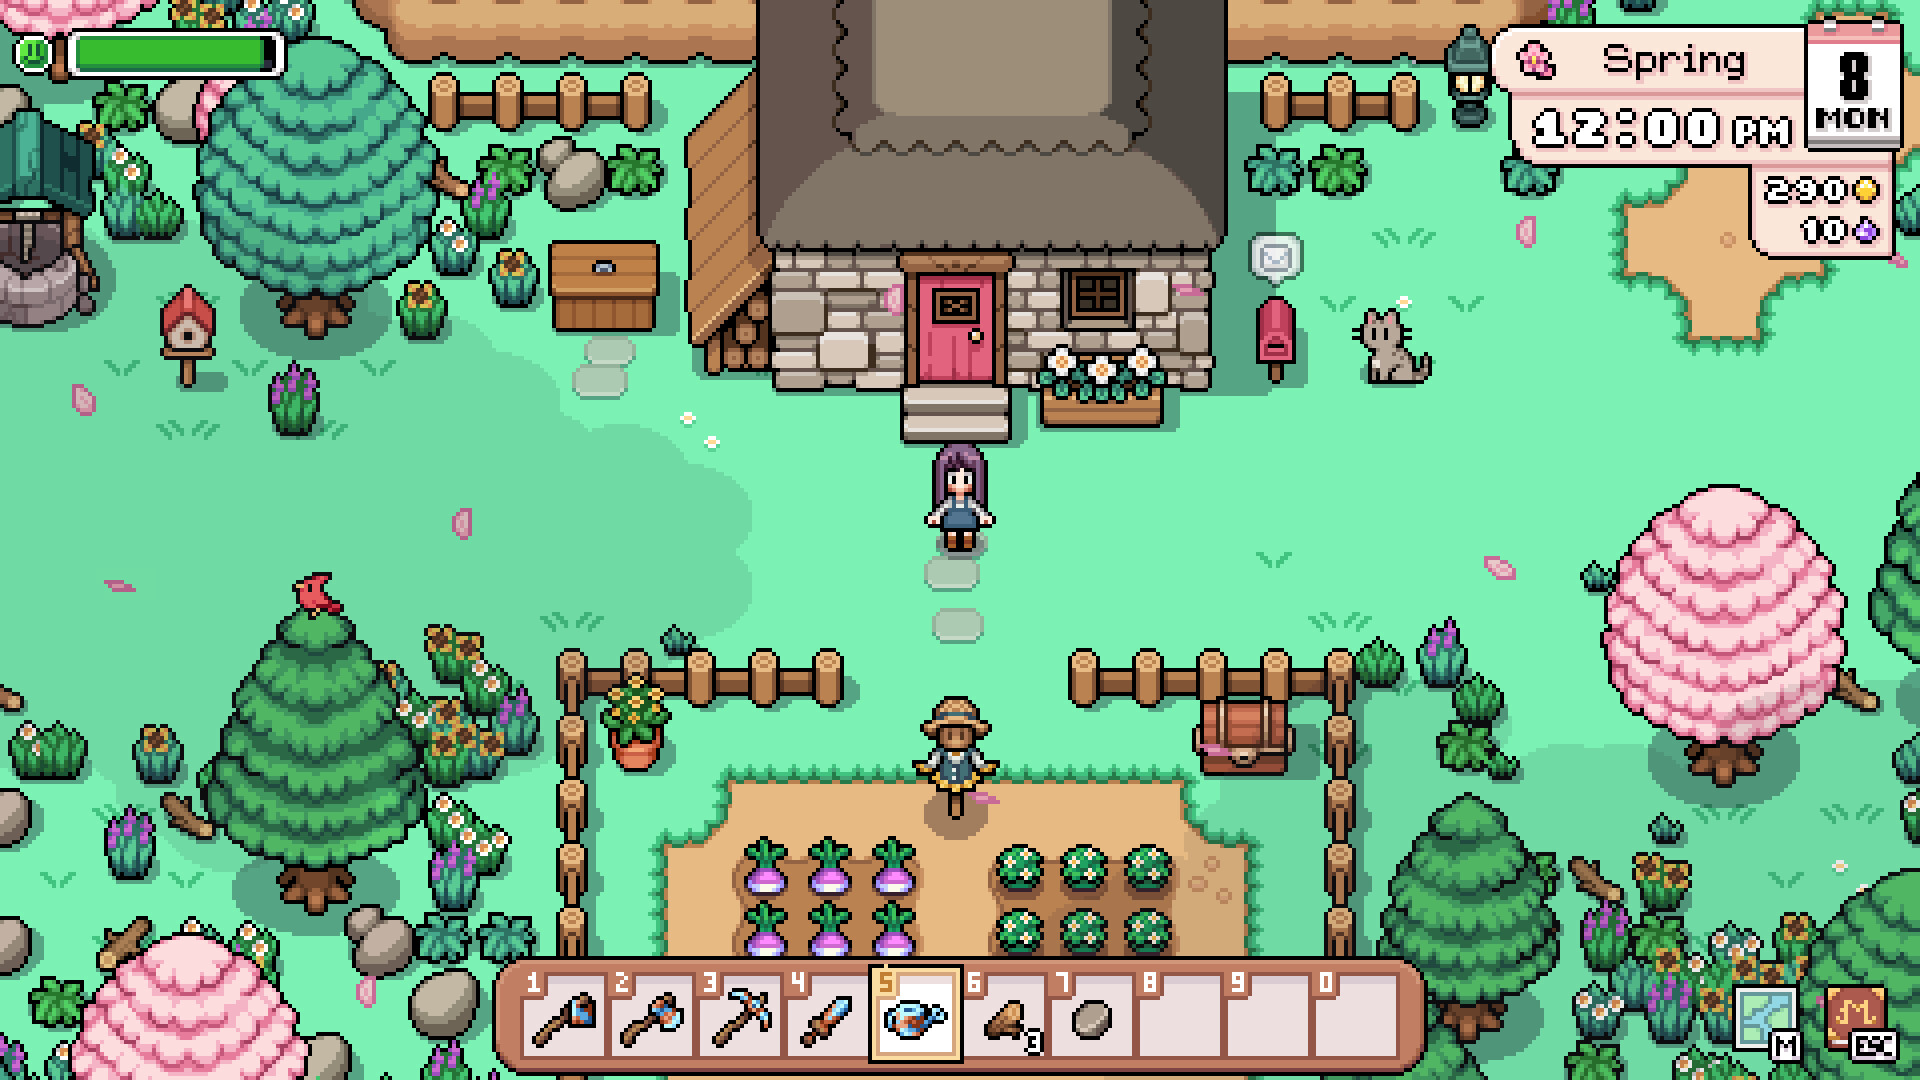
Clear and zoom out
A clean surface and 1× zoom make proportions and walking routes visible.
Place big buildings first
Group barns and coops, keep crops nearby, and leave a future-expansion zone.
Size plots around watering
Water Sprite statues water two tiles from the statue. Draw crop blocks around that range first.
Reserve an orchard footprint
Each fruit tree needs a 3×3 growing area and does not need watering.
Finish with paths and zoning
Holding the action button with upgraded tools lays paths quickly but costs energy; fences, lights, and furniture belong last.
Four useful farm zones
Crops
Use the statue range, a main path, and a replanting edge to define a stable field.
Animals
Keep coops and barns together; preserve space for feed, fencing, and access.
Orchard
Apple, orange, pomegranate, pear, lemon, cherry, and peach trees can form one 3×3-grid orchard.
Decor and materials
Paths, fences, and furniture need wood, stone, hardwood, and fiber—stockpile before starting a large pass.
Where decor can come from
Collected notes list museum sets, mine chests, the Saturday Market, Taliferro cooking challenges, the Carpenter, Balor’s wagon, the general store, and Renown rewards.
This is community layout advice, not an official perfect layout. A small zone-by-zone expansion after living with the farm is safer than committing every tile in Year 1.
Choose an approach: try it, sketch it, or rebuild it
Source experienceThe supplied community discussion does not treat a fully planned first year as the only right answer. Choose what matters now: start quickly, learn the space first, or collect a material reserve. Each approach works; the difference is when the waiting and rebuilding happen.
| Approach | When the supplied material uses it | Boundary to know first |
|---|---|---|
| Try first, rebuild later | Play freely, then tear down and rebuild before Year 2. | Community players say it reveals the real space needed for crops, animals, and decor; winter crops can complicate the timing of a full rebuild. |
| Sketch first | You want a whole-farm view before committing to buildings and routes. | The material suggests using the map or a drawing tool to mark approximate buildings, crops, trees, and decor. |
| Expand one small zone | You have a clear first area but not enough materials for everything. | Complete one usable zone, then expand around the routes you actually use; the entire farm need not be filled at once. |
- 01
Sketch large footprints
Mark approximate buildings, crops, trees, and decor.
- 02
Set plot boundaries
Statues reach two tiles; fruit trees use 3 × 3.
- 03
Finish the experience layer
Decide paths, fences, lights, furniture, and grass last.
Not a fixed blueprint: this organizes the supplied advice to plan large areas first, then adjust around the routes you use.
Crop plots: use the confirmed watering boundary first
Confirmed mechanicWater Sprite statues water two tiles from the statue. The supplied material does not document building footprints or an ideal number of statues, so this is the confirmed boundary for drawing a plot—not a claimed perfect layout.
Set the crop plot around that range first, then leave room for a main path and replanting. This keeps decoration decisions separate from the known watering rule.
Animals and fences: keep the rule separate from the advice
Material adviceWhat fences do
Fences can stop weeds and debris from respawning over farmed land. Fence the crop area that needs to stay clear before adding decorative sections.
Animal-zone setup
The supplied planning advice groups coops and barns, with room for feed, fences, and access. This is a layout suggestion, not a single correct farm plan.
When space is tight
The supplied tips mention Hayden’s daycare as a temporary place for animals while moving buildings or making room for breeding. Check in-game availability before relying on it.
The material also advises keeping animals away from crops intended for sale, because they may eat nearby crops. Use fences and routes to keep the areas separate.
Orchard: reserve one complete 3 × 3 unit before planting
Confirmed mechanicEach fruit tree needs a 3 × 3 growing area and does not need watering. The supplied material lists apple, orange, pomegranate, pear, lemon, cherry, and peach trees; they can line a path or form an orchard.
Reserve the whole unit before deciding on lights, fences, or furniture. Cherry trees are the documented option for pink trees.
Decor and recipes: know where to look first
Material advice| Source | Recorded material |
|---|---|
| Museum | Completing sets can reward furniture and furniture recipes. |
| Mine chests | Can drop furniture or recipes. |
| Saturday Market | Furniture and recipes are available; stock changes weekly. |
| Taliferro cooking challenges | After unlocking them, these can reward kitchen-themed furniture that can also go outside. |
| Other sources | The Carpenter, Balor’s wagon, the general store, and Renown rewards can also provide decor or recipes. |
Paths, fences, and furniture use wood, stone, hardwood, fiber, and other materials. The supplied planning advice recommends stocking up before a large decorating pass.
Paths, grass, and materials: decide what to spend first
Source experiencePaths are not a prerequisite
The supplied material treats paths as personal preference. Dirt paths save stone; after tool upgrades, holding the action button can lay multiple paths but uses more energy.
Give grass a purpose first
Grass starters can be made once the mill is unlocked, and the material notes that many foliage recipes use them. Keep some for later recipes before covering a large area.
Pause when materials are thin
Fences, furniture, and paths use wood, stone, hardwood, and fiber. Stockpiling first avoids rerouting or dismantling a half-finished area.
The final layer: finish around the routes you use
Source experienceFences and movement
Use fences to separate zones; the supplied material notes that wooden fences can be jumped over. Walk the daily route once before closing a familiar entrance.
Lighting and stackable decor
Lights, fairy lights, and braziers change the farm at night. Some furniture can stack; the material gives stone stools with vases or lights as an example. Confirm any placement in game.
Symmetry or natural growth
Neat grids and organic layouts are both choices in the supplied material, not performance categories. Choose the route style first, then make small seasonal detail changes.
Finishing is not the last change. The supplied player experience repeatedly recommends living with the farm, then adjusting it around real walking, planting, and material-gathering habits.
Sources
Condensed from the supplied farm-planning video transcript and community discussion. Layout preferences are player strategy, not official rules.